I.33 Sword and buckler - A summary of the system
- HEMA 101 admin
- Apr 26, 2025
- 10 min read
Updated: Jun 2, 2025
This is a summary of my 'bottom up' approach to i.33. I call it bottom up* because it makes a reasonable assumption about what the foundation of i.33 is (the cuts) and builds the plays (examples of techniques) from these. I find this interpretation creates a pretty cohesive system and avoids the oddities of some other approaches. You can read my full i.33 interpretation (in 10 parts) here:
*Really I should say this is both a top down and bottom up approach, as the basic actions of the system needed to be deduced from a combination of factors: the wards, the images, the relationship between the wards and the 'sieges' in the plays, the text, and practical experience.
Note that this summary is simplified compared to my full guide, it's here to give you a flavour of the system. I use a mixture of terminology, both modern and old to help you (and myself) understand the techniques of i.33 and how they can be used. One might argue that this makes this something different to i.33 - yes, of course, this is my interpretation of i.33, not i.33 itself. The way I have structured my guide and the actions is my own, and inspired more by how 17th century fencing manuals were sometimes organised. You can put this down to my pedagogical style.
What is it?
I.33 is a book showing a system of fighting with the sword and buckler. It is not a complete system in that it doesn't show attacks to the leg, and doesn't show feints or other tactics. However, it is still a fairly comprehensive framework from which you can build. It is arguable as to what extent i.33 shows attacks (cuts, thrusts), but they are either implied (with the ward positions, with the binds shown) or explicitly shown (with the positions depicted) depending on your point of view.

The other thing to note is that i.33 is a teaching manual, in that it shows a priest teaching a student, and so it doesn't seem to show earnest fighting, so it shouldn't be taken too literally as an instruction manual for fighting. We should find other ways to use the techniques and lessons shown outside the limitations of specific plays.

The foundations
I believe the foundations of i.33 are the primary cuts, and these originate from the wards. There are cuts from above (oberhaus), across the middle (mittelhaus), and a rising cut from the left (unterhau), with no unterhau from the right (instead, a thrust is more useful). We can perform these over or under the buckler, giving us perhaps 7 useful cuts, and 4 thrusts. The thrusts are over the buckler, under the buckler, to the left or right of the buckler.
The ward positions are simply where these cuts and thrusts originate from. There are 7 wards:
Under the left arm
Over the right shoulder
Over the left shoulder
Above the head
Down by the right hip with sword down
Sword pointing forwards held at the chest
Longpoint, sword held downward towards the floor in front of the body, or alternatively held straight forwards.
Here is an exercise:
Start in first ward, cut an unterhau ending with buckler on the left of the sword
Cut an oberhau from the right with buckler on left of the sword
Cut and oberhau from the left with buckler on left of the sword
Cut and oberhau from the left with buckler crossing over the sword hand
Cut a mittelhau from the right over the buckler
Cut a mittelahu from the left over the buckler
Cut an oberhau to the leg of the opponent from the right, keeping the buckler high
This exercise should tell you that most of the attacks come from first, second and third ward, so these are your most useful.
The thrusts can be practiced from first, fifth and sixth ward.
Wards should not be seen as static positions. By cutting from ward to ward, passing via longpoint, we can manoeuvre ourselves into relative positions of advantage to attack or defend.
Making attacks
I suggest attacking with a step in the same way you do with longsword, meaning your left leg is forward when you are in a ward with the sword on your right and vice versa. When you cut, you step with your cut diagonally forwards.
You can also perform cuts and then turn these into thrusts to avoid or get around the opponent's buckler.
The parries
The cuts also act as our basic parries.
The oberhaus, when used to parry an incoming oberhau or mittelahu, can be called 'half shield'.
The mittlehaus, when used to parry incoming oberhaus, can be called 'schutzen' (cover). [I.33 probably uses the term Schutzen more broadly to mean any parry, but several of the plays that call for Schutzen specifically seem to work with a mittlehau, except for one or two instances. In my full interpretation I differentiate between several different types of Schutzen]
The unterhau, when used to parry an incoming unterhau or thrust, can be called Krucke (crutch). This can be directed towards our right (originating from first ward), or our left (originating from fifth ward or a similar position called 'Priests Special Longpoint', and can also be called a low Schutzen.
There is also a hanging parry on the left which can be called 'fiddle bow', and you naturally move through this position when you cut from the left and then drop your sword over your buckler arm to cut from the right.
There may also be a parry called 'falling under', or perhaps not. This is probably just a variation of one of the Schutzens, or it is just general advice to get your weapons in front and above you to defend the head in certain situations.
You can also parry with the buckler alone, and I find this most useful following a bind and as part of close fighting, but it is arguable whether or not i33 shows this.
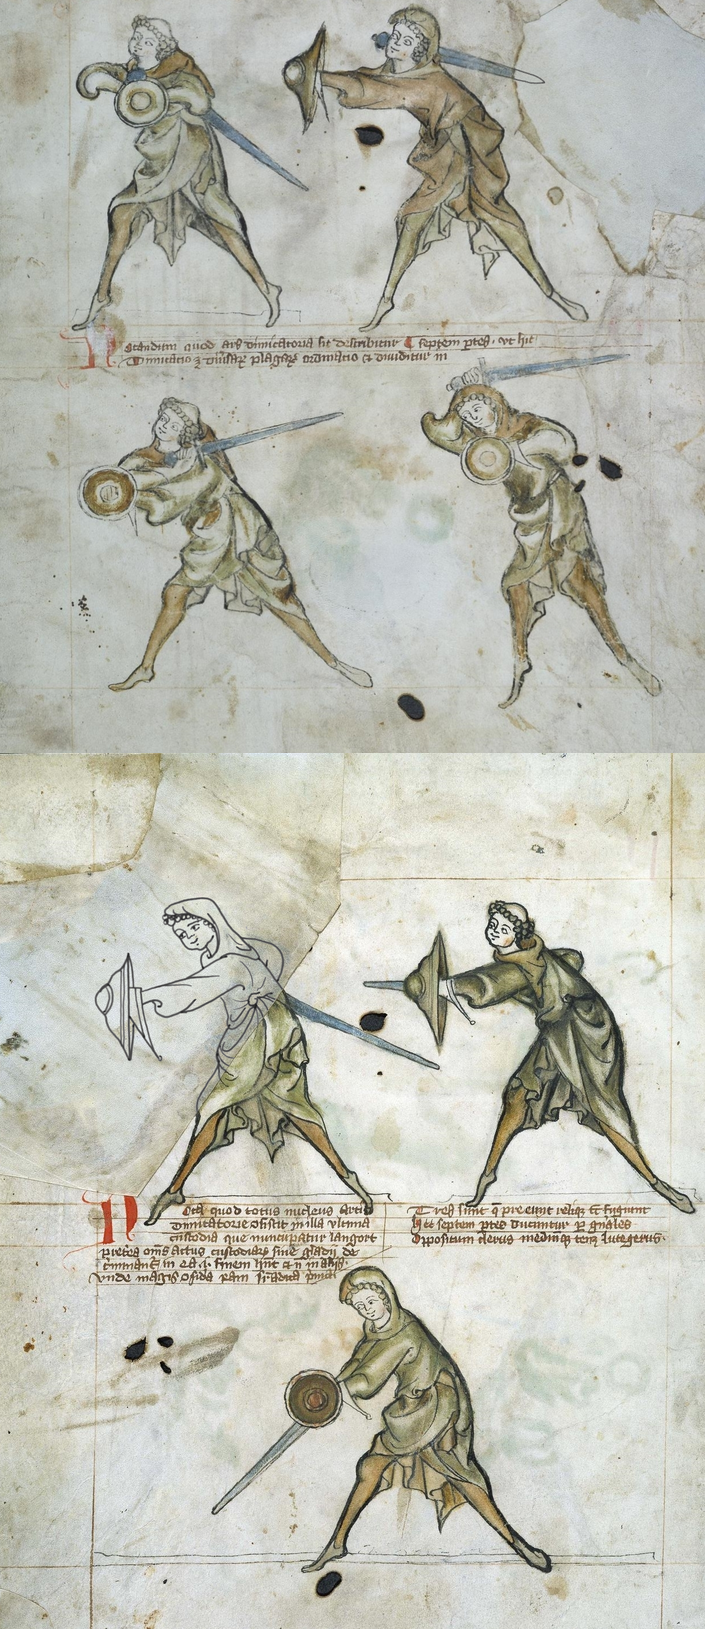
The images in i.33 are stylised and do not always show these parries (or attacks or whatever the images are meant to represent) correctly, so do not try to copy the images exactly. Many positions that look like the sword is coming from above or below are probably coming from the side, and some actually do have the sword held low, like in the below image. I've had to deduce which is which by considering the ward, the likely attack, which crossing of the swords would defend, etc.

Counter wards
These parries can also be used to form counter wards, or defensive positions offering some passive protection. The difference between a parry and a counter ward is that the parry is made actively (i.e. it meets the incoming cut), whereas the counter ward is made before the opponent cuts, and is to discourage an attack.
In modern practice, it is common for people to use the 'half shield' counter ward nearly all the time, although I'm not sure i.33 wants us to do this, and people probably use it excessively. It is a good defensive position, however.

Binds
When your attack meets a parry or counter ward, and the swords touch, this is called a bind. For example, if I parry an oberhau aimed at the right side of my head with a half shield parry, then we will be in an 'outside bind' (because my right side is usually called my 'outside' and my left the 'inside'). If I parry an attack aimed at my left side with a left Schutzen then we will be in an inside bind. If I parry an attack from above with fiddle bow then I am in an underbind, because my sword is below theirs.
We can classify binds as being hard (strong) or soft (weak). When one person is hard or strong, the other is soft or weak and vice versa. A simple way to understand who is strong and who is weak is who has the 'centre'. If I parry your attack, my sword will usually have the centre because it is in between your sword and you, meaning I am hard or strong. The person who is strong usually has the most direct line to performing an attack from the bind.

Binds get more complicated than this, especially when we also consider overbinds vs underbinds, etc., but generally we can say that in any given bind, one fencer will often have some sort of advantage of position that allows them to perform a follow-up attack.
Handworks
Handworks are simply actions that you perform from the bind. The simplest would be to make a cut or a thrust from the bind, e.g. performed as a riposte following your parry. However, i.33 also includes grapples and other actions. Here is a generic list of handworks:
A straight thrust, made if you are strong in the bind.
A Stichslach (knocking thrust), made around the outside of their parry, used if you are weak or fairly neutral
A step through - a cut made from the bind with a step, usually using your buckler to defend against the opponent's sword. An example is if you parry with a Schutzen on your left, and then perform a cut from left to the right side of the opponent's head. Used when you are strong.
Cut around - a cut made to the other side of the opponent's sword. Used when your are weak.
Disengage - where your sword was under theirs in the bind, you free your sword. Used when you have an underbind.
Mutation - following the disengage, you bind on top of their sword. Used to gain an overbind.
Grapple - you perform a grapple, controlling their sword and buckler arms.
A rebind - where you gain a strong overbind on the opponent's sword
A shield knock - usually used as part of the rebind, where you smash your buckler into their sword or buckler (or both).
A Knucken (knocking attack) - a cut or thrust performed when you have performed a rebind/shield knock.
While not shown in i.33, I'd say a cut made to the opponent's leg, using your buckler to defend against their sword, is also a common handwork that occurs in practice.
Plays
Plays are simply set sequences that demonstrate the techniques. They can be a bit confusing in i.33, and it is not always clear who is initiating the attack and who is defending. The text refers to the besieger and the besieged, suggesting the besieger is the one making the attack, however this is not always clear and the plays could make sense either way. Each play, as I understand it, usually has a ward, an attack made against that ward, a parry, and some sort of handwork. I find that you can vary the plays a little by changing who is attacking and who is defending in the initial action and it still makes sense.

Special wards
There are a few 'special wards':
Priests special longpoint - this is similar to fifth ward but with the sword held forwards with hand at the right hip.
Fiddle Bow - the blade is held across the buckler arm. As well as facilitating a hanging parry, this can also be used to intercept a thrust and then grab the blade with the buckler hand, potentially disarming the opponent.
Walpurgis ward - also called Priests special second ward, this is like second ward but the sword is held lower, at the chest. It might be a position that quickly withdraws the sword and buckler to free it from the opponent.
Tactics
Many have interpreted i33 to advocate a certain tactical approach to any fight, which basically involves forming a counter ward and closing distance to the opponent, either to draw out the attack and parry and counter this, or to attack from the counter ward itself. This approach is sometimes called an obsessio or siege. Indeed, many have even suggested that attacking from a ward directly is a bad idea and not shown in I.33, making wards useless. However, I believe this is a very literal reading of i33, probably a misinterpretation, based on the order and ways in which the plays present information. It sounds like Fabris' "proceeding with resolution", not exactly basic swordsmanship!
Since counter wards are just attacks stopped midway through, there is little difference at a technical level between an attack made from a ward and an attack made from a counter ward, except that the attack from the counter ward could be made from a different angle, in which case it becomes a different attack; in this case, you have simply just feinted an attack from one side to perform a different attack.
Therefore, in my interpretation, techniques are techniques are techniques. The right technique performed at the wrong time is the wrong technique. Therefore, you should be free to apply these techniques however you wish, and however the time permits, to perform all the tactics that any fencing system employs:
Direct attacks (attacking your opponent with the aim to hit)
Parry-riposte (allowing your opponent to attack you so you can parry and then riposte)
Compound attacks (e.g. feints, multiple attacks, to draw out your opponent's defence and then attack around it)
Counter attacks (attacking your opponent with an attack that simultaneously parries their real or feinted attack and hits them)
Feints in time (using a feint or counter ward to draw out their counter-attack, so you can parry this and then attack them)
Putting it together
I use this diagram to help visualise how the system of I.33 is held together. This isn't a decision tree. If you focus your attention on the box called 'Attacks', it simply shows that the attacks come from the ward positions. The attacking motions we use are also used to make our parries. The parries can be used proactively as counter wards. When our attack meets our opponent's parry (or vice versa) we get a bind, and from the bind we perform handworks and grapples.

Want to know more?
If you found this interesting and think that this interpretation of I.33 seems practical, then you can read the full interpretation (including exercises to help learn the system) here:


Comments